Creative Easter Crafting: Paper Mache Eggs, Easter Eggs for Crafts, and Paintable Easter Eggs
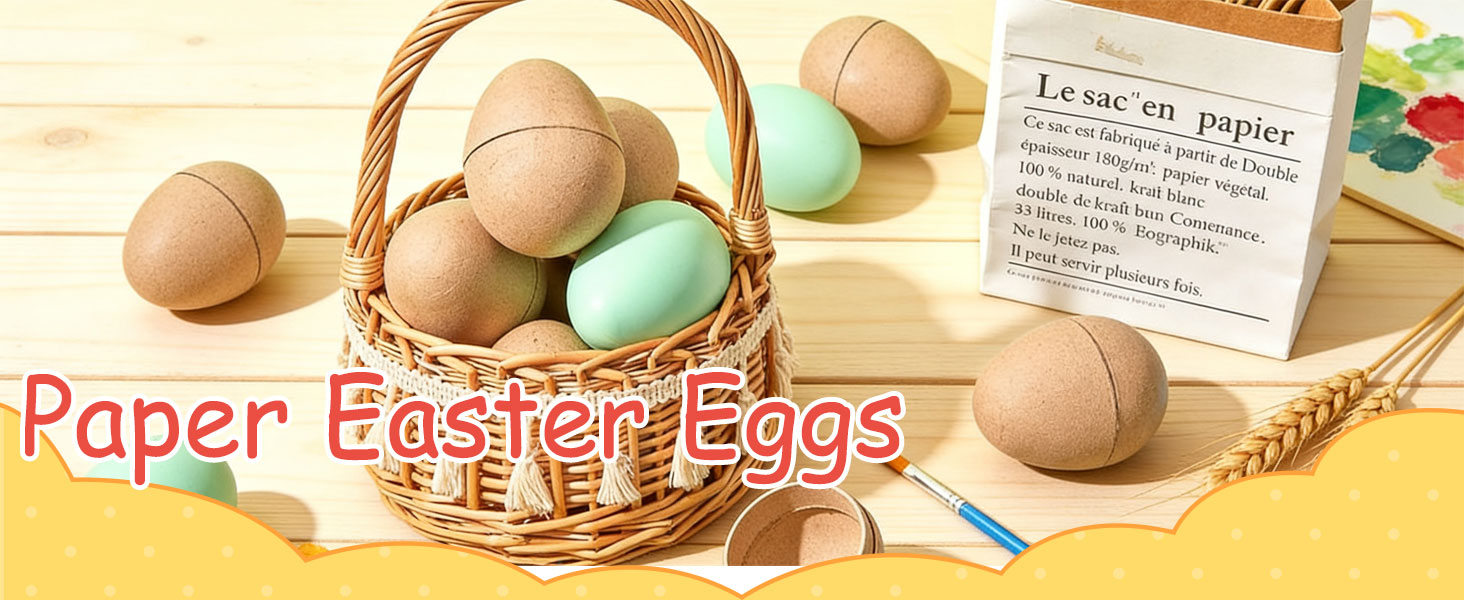
Easter is a season of color, creativity, and family fun. Whether you are a parent looking for a screen-free activity, a teacher planning a classroom project, or a craft enthusiast eager to try something new, the world of Easter crafting offers endless possibilities. Among the most versatile and rewarding materials are paper mache eggs, which provide a sturdy, lightweight base for all kinds of artistic experiments. In this guide, we will explore why these craft blanks are so popular, how to use Easter eggs for crafts, and why paintable Easter eggs deserve a spot on your supply list.
Why Choose Paper Mache Eggs for Your Next Craft Project?
Durability meets creativity. Unlike real eggs that crack at the slightest pressure, Paper mache eggs are built to last. They hold up well to layers of paint, glue, glitter, and embellishments, making them ideal for both children and adults. These blank canvases are also lightweight, so they can be hung from branches, placed in baskets, or strung into garlands without weighing anything down.
Another advantage is their smooth, porous surface. It accepts acrylics, tempera, markers, and even decoupage mediums with ease. If you have ever tried to paint a plastic egg and watched the color bead up, you will appreciate how well paper mache takes paint. Plus, they are affordable and often sold in bulk, so you can stock up for group projects without breaking the budget.
Easter Eggs for Crafts: Endless Possibilities
When you browse a craft store or online supplier, you will notice that Easter eggs for crafts come in several styles: flat, rounded, hollow, and even pre-drilled for hanging. This variety means you can tailor your project to your skill level and imagination. Here are a few popular ways to use them:
- Decoupage eggs: Tear colorful tissue paper or napkins into small pieces, then adhere them with a mixture of white glue and water. The result is a vintage, textured look that is surprisingly easy to achieve.
- Glitter and gem eggs: Apply a thin layer of craft glue, then roll the egg in fine glitter or press on tiny rhinestones. These make eye-catching centerpieces or gifts.
- Fabric-wrapped eggs: Cut fabric scraps into strips and wrap them around the egg, securing with Mod Podge. This is a great way to use up leftover quilting fabric.
- Natural botanical eggs: Press small leaves or flowers onto the egg with glue, then cover with a thin layer of decoupage medium. The result is elegant and earthy.
For those who prefer a more structured project, consider turning the eggs into a mobile, a wreath, or a table runner. The hollow versions can even be filled with small treats or notes before sealing them with a paper circle.
Painting Techniques for Stunning Results
If you love to paint, Paintable easter eggs are your best friend. Their absorbent surface means you can build up layers of color without waiting forever for each coat to dry. Start with a base coat of white or cream acrylic paint—this helps the top colors pop. Then try one of these techniques:
- Sponge painting: Dab a natural sea sponge into two or three pastel colors and gently press onto the egg for a soft, mottled effect.
- Dot art: Use the handle end of a paintbrush to create tiny dots in repeating patterns. This is meditative and yields beautiful results.
- Watercolor wash: Mix acrylic paint with plenty of water and brush it over the egg for a translucent, dreamy look. Let it dry between layers.
- Masking tape resist: Wrap thin strips of tape around the egg, paint over them, then peel away to reveal crisp geometric lines.
Once your paint is dry, seal the egg with a matte or gloss varnish. This protects the finish and makes the colors more vibrant. And do not forget the top: a small loop of twine or ribbon turns any painted egg into a hanging ornament.
Creative Ideas to Try This Easter
Story eggs. Write a single word or draw a simple symbol on each egg. Hide them around the house and have children put the story in order.
Alphabet eggs. Paint a letter on each egg and use them for spelling games or a spring-themed scavenger hunt.
Egg garland. Thread a long piece of yarn through the top of each egg (if they are pre-drilled) and hang them across a mantel or window.
Miniature planters. Cut the top off a large paper mache egg, fill it with potting soil, and plant a small succulent. This is a charming table decoration that lasts well beyond Easter.
Tips for a Successful Crafting Session
Set up a dedicated workspace. Cover your table with newspaper or a plastic tablecloth. Keep paper towels and a bowl of water nearby for quick cleanups.
Work in batches. If you are painting or decoupaging multiple eggs, do one step at a time on all of them. This saves drying time and keeps the process organized.
Involve the whole family. Younger children can paint with large brushes and washable tempera, while older kids and adults can attempt detailed designs. Assign different tasks based on skill level.
Let them dry completely. Patience is key. A hairdryer on the cool setting can speed things up, but nothing beats air drying for a durable finish.
Final Thoughts
Easter crafting is about more than decorating eggs—it is about making memories, exploring your creativity, and slowing down to enjoy the season. Whether you choose simple paper mache eggs, a set of Easter eggs for crafts, or smooth paintable Easter eggs, you are opening the door to hours of hands-on fun. So gather your supplies, invite a friend or your kids, and let your imagination hop into action. Happy crafting!
About the Author